
Picture this: It's 3 PM on a Tuesday, your display case is looking a bit sparse, and suddenly three customers walk in asking for "something chocolatey and indulgent." Sound familiar? We've all been there! That's exactly when I discovered this chocolate peanut butter cake recipe that became my secret weapon for turning quiet afternoons into profitable ones.
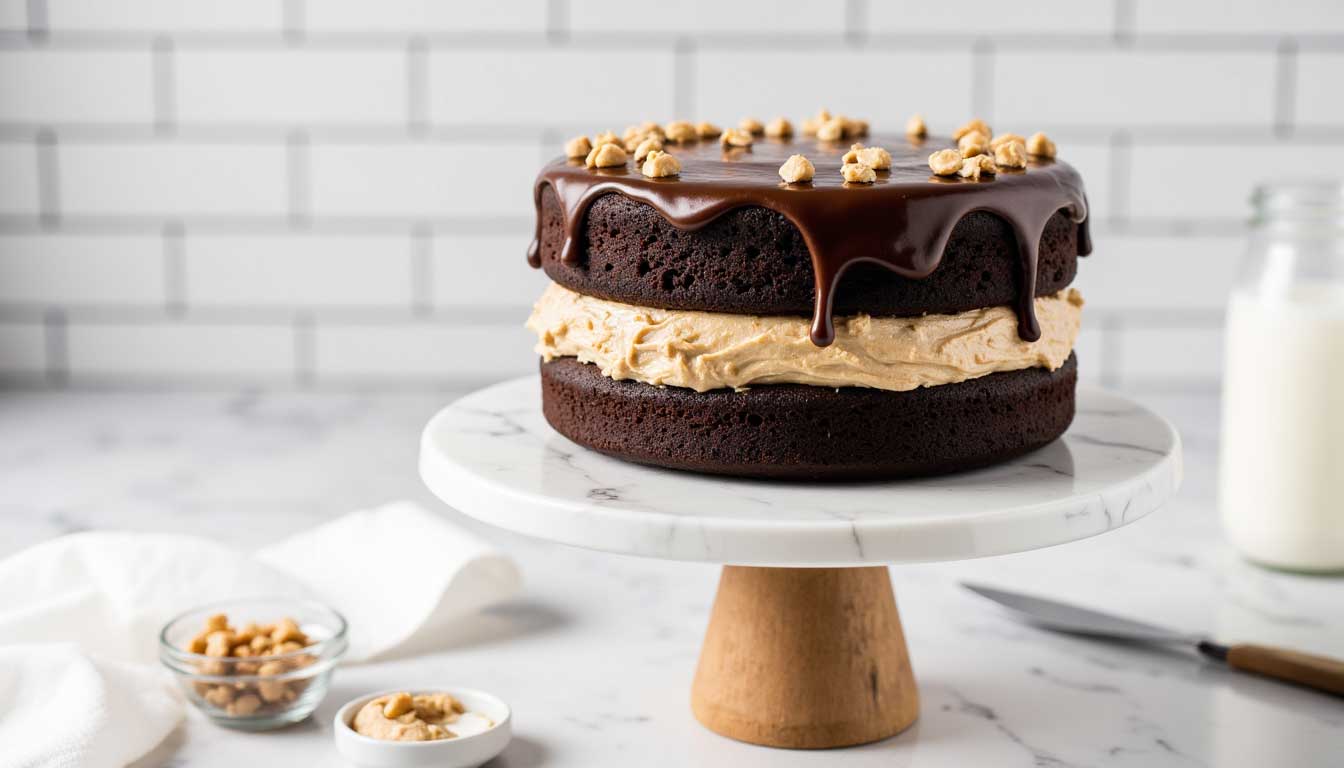
This isn't just another cake recipe floating around the internet. This is the kind of dessert that makes customers take photos, post stories, and most importantly – come back with their friends.
Why This Recipe Will Transform Your Business
Let's be honest – chocolate and peanut butter is basically cheating when it comes to crowd-pleasing desserts. But here's what makes this recipe special for food professionals like us: it's foolproof, scales beautifully, and stays incredibly moist for days.
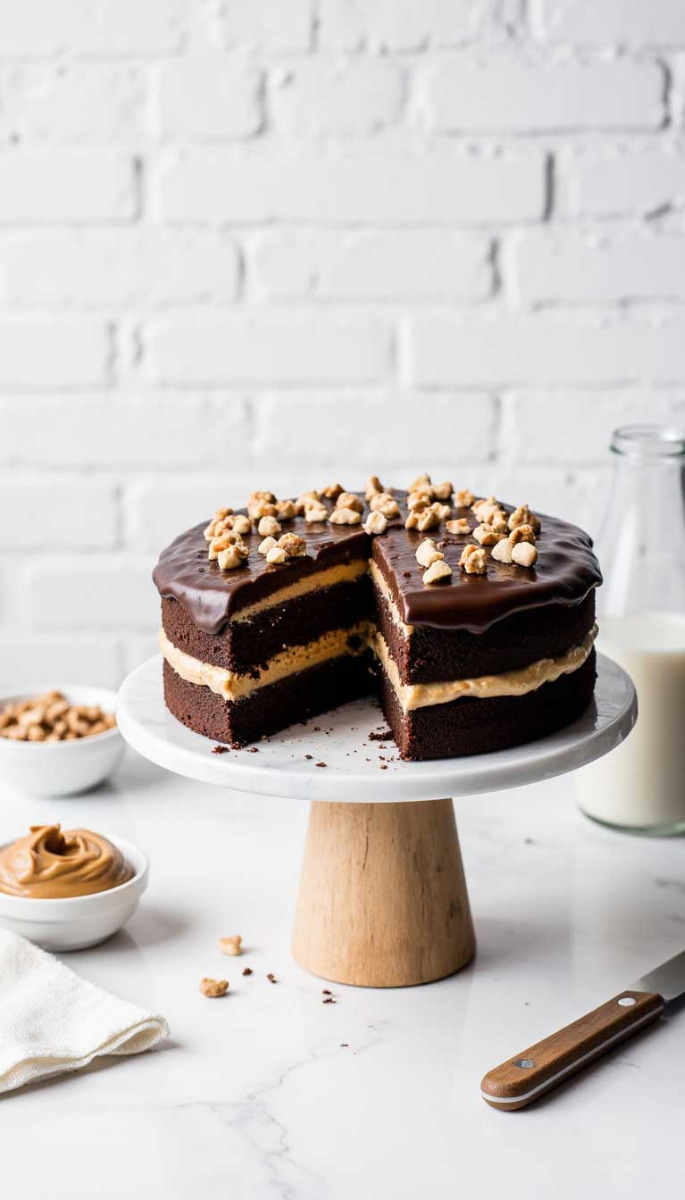
The texture? Dense enough to hold up during transport but light enough that customers won't feel guilty ordering a second slice. The flavor profile hits that perfect balance where neither the chocolate nor peanut butter overpowers the other. Plus, it photographs like a dream – and we all know how important that Instagram factor is these days!
But here's the real kicker: this cake actually improves overnight. The flavors meld together, creating this rich, complex taste that'll have your customers convinced you've got some secret technique. (Spoiler alert: you do now!)
Recipe Details

Ingredients
For the Chocolate Cake:
. 1¾ cups all-purpose flour
. 2 cups granulated sugar
. ¾ cup unsweetened cocoa powder
. 2 teaspoons baking soda
. 1 teaspoon baking powder
. 1 teaspoon salt
. 2 large eggs
. 1 cup buttermilk
. 1 cup strong black coffee (cooled)
. ½ cup vegetable oil
. 1 teaspoon vanilla extract
For the Peanut Butter Frosting:
. 1 cup unsalted butter (room temperature)
. 1 cup creamy peanut butter
. 4 cups powdered sugar
. ⅓ cup heavy cream
. 2 teaspoons vanilla extract
. ½ teaspoon salt
Substitution note: Can't get buttermilk? Add 1 tablespoon white vinegar to regular milk and let it sit for 5 minutes.
Step-by-Step Instructions
Prep Your Kitchen Like a Pro
Preheat your oven to 350°F (175°C). Grease two 9-inch round pans and line with parchment paper. Trust me on the parchment – it's your insurance policy against cake disasters.
Mix the Dry Ingredients
Whisk together flour, sugar, cocoa powder, baking soda, baking powder, and salt in a large bowl. Make sure there are no cocoa lumps lurking in there – nobody wants bitter surprises in their slice!
Combine the Wet Ingredients
In another bowl, beat eggs, then add buttermilk, coffee, oil, and vanilla. The coffee might seem weird, but it's going to make your chocolate flavor absolutely sing.
Bring It All Together
Pour wet ingredients into dry ingredients and mix until just combined. Don't overthink this – lumpy is better than tough cake. The batter will be thin, and that's exactly what we want.
Bake to Perfection
Divide batter between your prepared pans. Bake for 35-40 minutes, or until a toothpick comes out with just a few moist crumbs.
Cool Down Time
Let cakes cool in pans for 10 minutes, then turn out onto wire racks. Patience here pays off – frosting a warm cake is a recipe for disaster.
Whip Up That Frosting
Beat butter and peanut butter until fluffy (about 3 minutes). Gradually add powdered sugar, then cream, vanilla, and salt. Beat until it looks like clouds made of peanut butter dreams.
Assembly Magic
Place one layer on your serving plate, spread frosting on top, add second layer, then frost the whole thing. Don't stress about perfection – rustic looks intentional!
Nutritional Information
. Calories per slice: Approximately 580
. Total fat: 22g
. Saturated fat: 9g
. Protein: 12g
. Carbohydrates: 95g
. Fiber: 4g
. Sugar: 82g
Note: Perfect for sharing or for customers who believe life's too short for small desserts!
Common Mistakes to Avoid
Overmixing the batter – You're making cake, not developing gluten for bread. Mix until just combined, then step away!
Skipping the coffee – I know, I know, coffee in chocolate cake sounds fancy. But it doesn't make it taste like coffee – it makes chocolate taste more chocolatey. Science is weird but wonderful.
Frosting a warm cake – Unless you want peanut butter soup running down the sides, let that cake cool completely. Go grab a coffee, answer some emails, practice your patience.
Not leveling your layers – A wonky cake is a tippy cake. Use a serrated knife or cake leveler to create flat surfaces.
Variations & Customizations
The Health-Conscious Version: Substitute half the oil with unsweetened applesauce and use sugar substitute in the frosting. Your health-minded customers will thank you.
The Indulgent Special: Add a layer of salted caramel between the cake layers and sprinkle crushed pretzels on top. Because sometimes more is actually more.
The Gluten-Free Option: Swap all-purpose flour for a 1:1 gluten-free baking blend. Test a small batch first, but this recipe adapts beautifully.
Storage & Presentation Tips
Here's where the magic happens for your business: keep your creations fresh in crystal-clear containers that display your beautiful work while protecting it during transport. This cake stores beautifully in our cake containers – the deep dome and low dome options are perfect for high and low-frosting cakes, and those snap-shut lids keep everything airtight and oven-baked-fresh for even longer.
Planning to sell by the slice? Store each piece in our best-selling sideways cake slice containers – they're perfect for protecting that gorgeous frosting and make grab-and-go sales a breeze. Plus, they're stackable, so you can build beautiful displays that save counter space.
The best part? These containers can resist low temperatures, making them perfect for use in the freezer or refrigerator, so you can prep ahead during slow periods and always have this customer favorite ready to go.
FAQ Section
Q: Can I make this cake ahead of time?
A: Absolutely! This cake actually tastes better the next day. Wrap unfrosted layers in plastic wrap and store at room temperature for up to 2 days, or freeze for up to 3 months.
Q: My frosting is too thick/thin. Help!
A: Too thick? Add cream one tablespoon at a time. Too thin? Add powdered sugar ¼ cup at a time. Room temperature ingredients are your friend here.
Q: Can I use natural peanut butter?
A: Stick with processed peanut butter for the frosting – the oils in natural peanut butter can make your frosting unstable. Save the fancy stuff for toast!
Final Thoughts
There you have it – your new secret weapon for creating happy customers and healthy profit margins. This chocolate peanut butter cake isn't just delicious; it's reliable, profitable, and Instagram-worthy.
What more could a food business owner ask for? Well, maybe customers who don't ask for the recipe... but hey, a little mystery keeps them coming back!
Now get in that kitchen and start creating some magic. Your customers (and your cash register) will thank you.
